The Scrooge Dress (Studio Faro Apron Dress)
The original idea for this was to have a nice festively-coloured dress for the Christmas season, but yeah, as you can probably tell from the fact that I'm posting this in March, that didn't happen. I'm kind of glad I chose to go for a Christmas vibe subtle enough to work just as well as a non-Christmas dress, otherwise I'd have to wait quite a while before getting to wear it.
I used another one of Studio Faro's patterns for this look (the Vintage Not-So-Fancy gown I blogged about back in the summer was based off their Vintage Fancy). This time, I used The Apron Dress, which has real 1950's bombshell vibes and has been on my To-Make list for quite some time.
Here's my sketch of it:
I used a gorgeous cherry red stretch velvet as the outer fabric. I realised after I'd bought it that it's the exact same fabric (just a different colour) to the velvet I used in my other Studio Faro project. Huh.
I couldn't find any stretch satin lining (note to self, keep looking) so settled for some non-stretch satin I found online and was inevitably not the shade I had in mind. Lucky you can't see it, I guess.
I figured that since the lining was non-stretch and the skirt portion was reasonably tight fitting, I should only line the bodice section if I wanted to be able to move and sit down in the dress (which, upon careful deliberation, I decided I did).
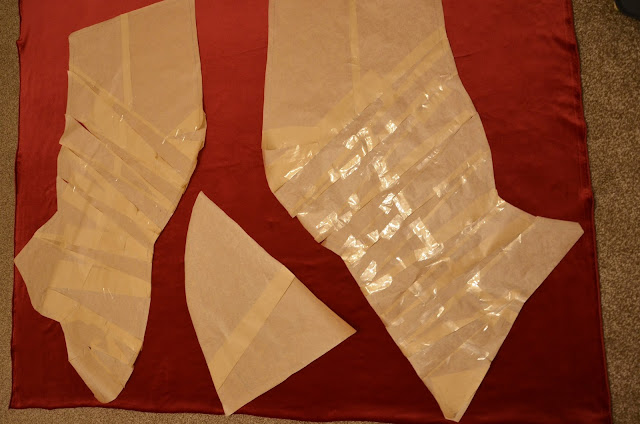
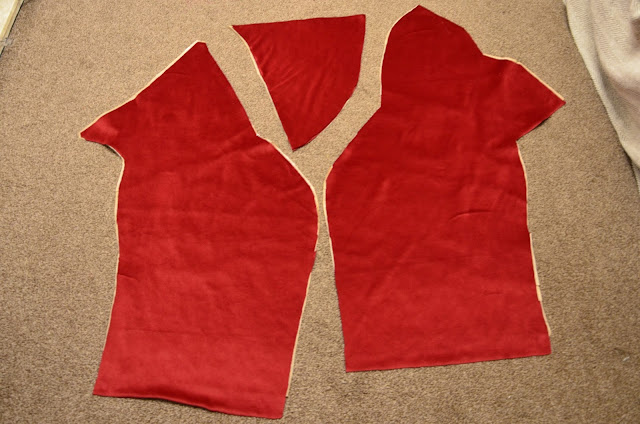
Drafting out the pattern was relatively painless and the instructions are quite straightforward to follow. If you've read any of my other blog posts, you won't be surprised to read that I didn't take any pictures of the pattern drafting process or the toile. One day I'll be a good blogger and take pictures of the entire dressmaking process and post when I say I will. One day. I did take some pictures of the finished pattern and the cut out velvet though, so I may as well show you them!
This was sewn over the lining seams on the right side of the fabric (not the side with seam allowance, to minimise it showing through on the outside) to act as channels for the boning.
I also made a facing for the neckline out of the velvet fabric so that there was no annoying lining popping out. I then sewed the lining, facing and outer fabric together. Then I inserted the boning into the lining, sewed up the bottom of the lining (5/8") to prevent the boning from coming out, then folded the raw edge up to the stitching line, folded again (enclosing the raw edge) and sewed over this to finish off the bottom of the lining. Then I gave the lining a good seeing to with the steam iron to flatten out the boning, handstitched the facing onto the lining, and it was onto the zip!
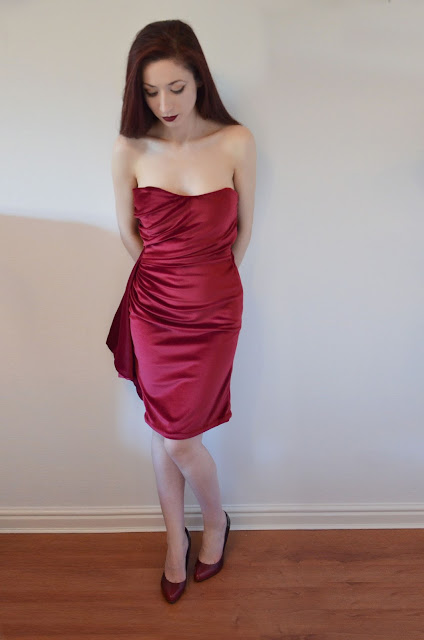
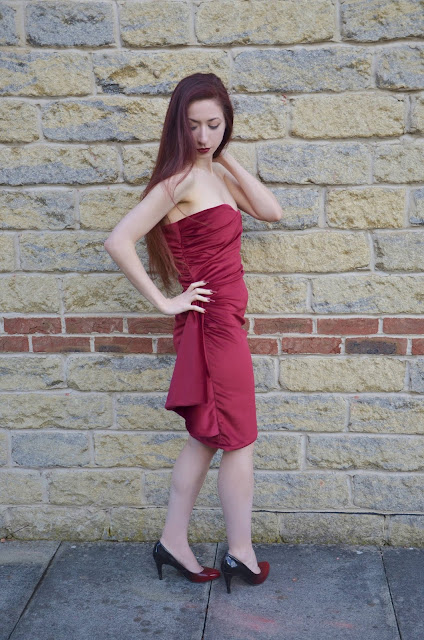
Because I'd ended up using non-stretch lining, the zip I'd originally intended to use was waaaay too short, as I needed all the length I could get to squeeze into the dress. Which was annoying, as I'd already half-attached my 10" zip when I figured this out. So a lot of unpicking later, I attached a new concealed zip (16"), hemmed the bottom, and boom! I had myself a new dress.
Somewhere along the way - by mistake or design I'm not sure - the halterneck strap for the dress got abandoned. Which means it isn't really an apron dress. Much like how I lost the fancy in the Vintage Fancy...clearly I have a bit of a theme when it comes to Studio Faro patterns...
And now the moment you've all been waiting for - the pictures!


Comments
Post a Comment