A Couple of Lace Tops
Hello all!
As some of you may have seen on my Instagram, I've made a couple of lace tops recently, and I thought it was high time I actually blogged about them.
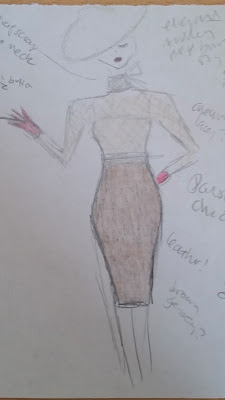
I first got the idea to make one back in the summer I think, but as usual, it took me a helluva long time to get moving with it. Here's the original sketch I drew:
As you can see, the idea was to have a tight fitting top, with a turtleneck/bow at one side. It was meant as a kind of modern interpretation of Edwardian fashion, as I do associate that era with a lot of lace blouses with high necklines. But I mean, it's a very loose interpretation...
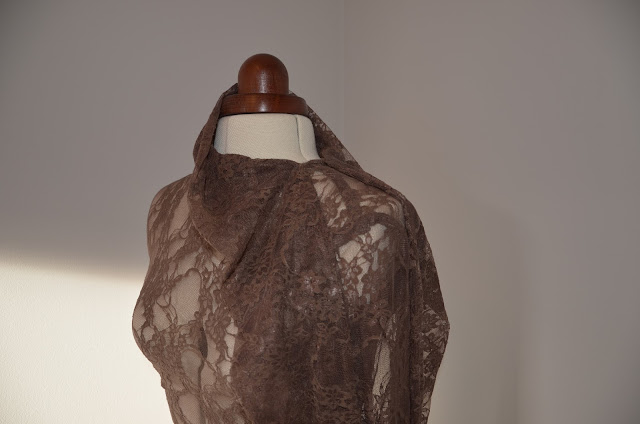
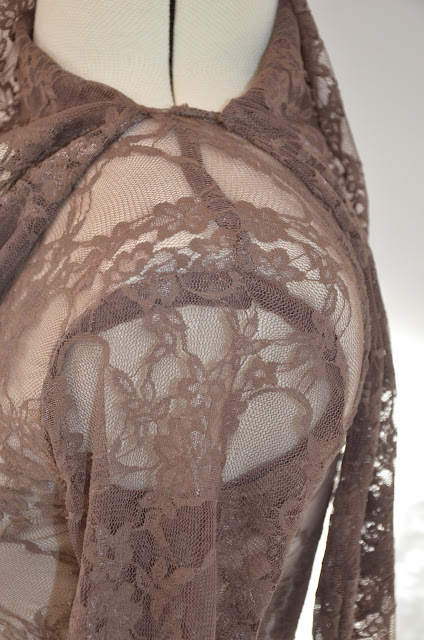
I bought 2m of brown lace about a month after getting this idea in my head, and it stayed in my cupboard until February, when it was finally time to get cracking with this project! I went for stretch lace as I didn't want there to have to be any closures.
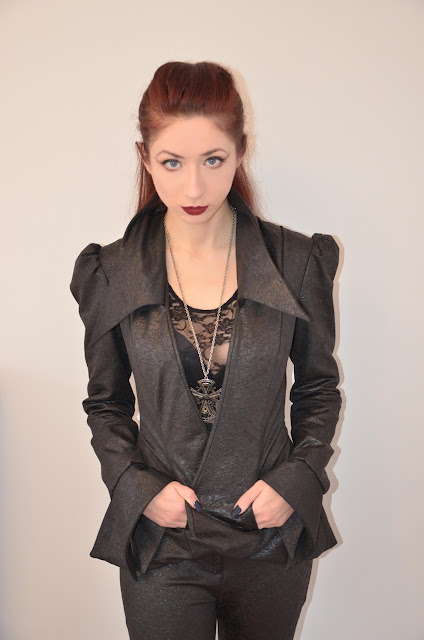
For the pattern, I decided it would be easiest to trace over a shop-bought lace top I happened to have, which I wore recently in the pleather jacket photo shoot.
I lay it flat, pinned together the sides, and traced over it, though raising the neckline so that it was only slightly lower than the back. Since I was working with a sheer fabric, I wanted to use French seams, so I made the seam allowance 1" to make this easier to do, and also to give some leeway in case it somehow ended up too tight. I also lengthened it by about 5" because I generally prefer tops that go down to my hips.
For the arms, I used an amended version of the pattern I'd drafted myself for my Forties Crossover Dress as I kind of felt like I was cheating by tracing over something, so thought I should try and make it a bit more me-made.
The bow collar was pretty simple - the length was just the width of the fabric (I believe around 50"). I wanted it to be 5" high, so factoring in the fold and seam allowances of 1" on each end, that made 12".
Since anything lace/mesh/net based is ridiculously difficult to unpick if you go wrong, I hand basted the front and back together and tried it on before machine stitching. The fit was fine (hurray for cheating!) so I French seam-ed the sides together, then did the same for the shoulders seams, sleeve seams, setting the sleeves (more complicated on a curve but still doable), the length of the collar and one side, with the other side folded in on itself. I then folded the front neck edge down 1/2" and zigzag stitched in place. Until this point, all other stitching had just been a straight stitch, but as there was quite a narrow neck hole, I needed it to have as much stretch as possible if I wanted to actually get my head into it. Which I did.
This neck hem was the only one with a raw edge technically exposed - I had tried double folding, but it made it too tight and I couldn't afford that. However, I decided it didn't matter too much, since it wouldn't be visible from the outside once the collar was on.
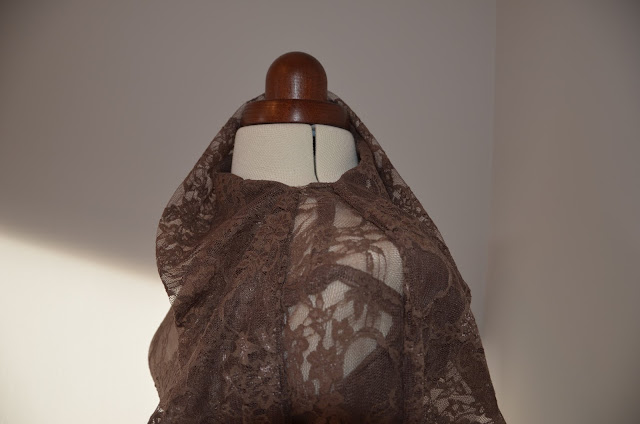
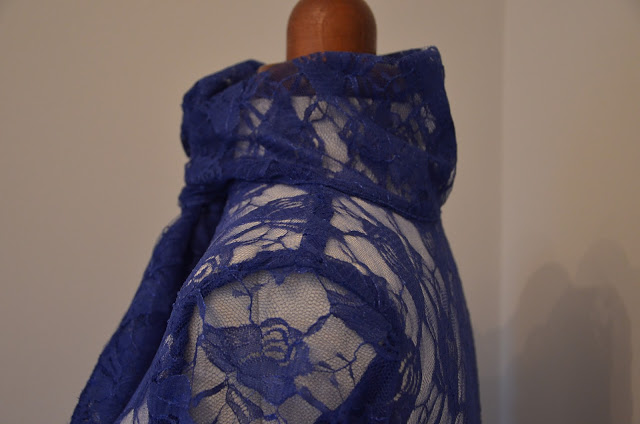
I liked it so much, I decided to make another one in blue, this time with the bow facing forwards, rather than to one side. Thinking 1m would be enough since I'd only used about half of my 2m last time, I purchased 1m of this lovely lace:
Not bothering to check/write down yardage in the first place unsurprisingly came back to haunt me, as all in all, it looks like the brown top had required about 1.2m (which, by the way, is a stupid length). Even squeezing everything in, there just wasn't going to be enough space without making some amendments. There was almost enough space for the sleeves if I cut them on the straight grain, so begrudgingly I did, but I did have to shorten them to a 3/4 length style as well.
The collar also ended up slightly narrower - about 4" rather than 5". Of course, I didn't think to add a bit extra to the sleeves to make up for the lack of stretch on the straight grain. That would be too obvious and forward-thinking of me.
Everything else with this was the same as the brown version, just with the tie positioning being turned 90 degrees, to go at the centre rather than the side. It ended up a little tighter than the brown version due to the fabric constraints, but other than that I'm pretty happy with it!







Comments
Post a Comment