Quilted Pleather Skirt
Hello all!
As I talked about in a previous post, I recently got some quilted blue faux leather that I thought would make a pretty cool skirt.
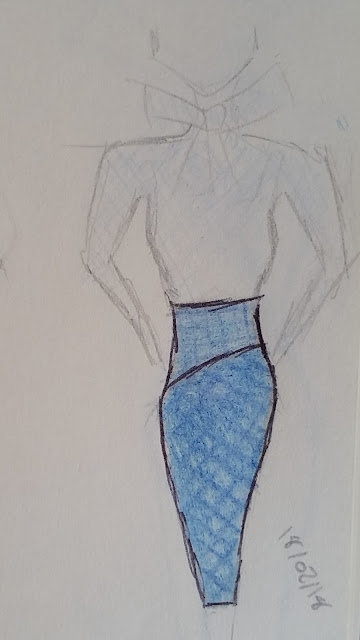
I sketched out an idea, which was a high waisted, tight fitting pencil skirt, with an asymmetric waistband, similar to the concept in my Forties' Crossover Dress. I thought it would make it more interesting to cut the fabric on the bias to get squares for the waist, and straight grain for diamonds for the main skirt. You can kind of see what I mean in my sketch below:
I used my basic skirt block to make the pattern, and extended it 1" above the waistline to make it extra high waisted. Because the whole pattern was asymmetric, this process required a full front skirt block (rather than half on the fold) and a left and right back skirt block, which were stuck together for the first few steps.
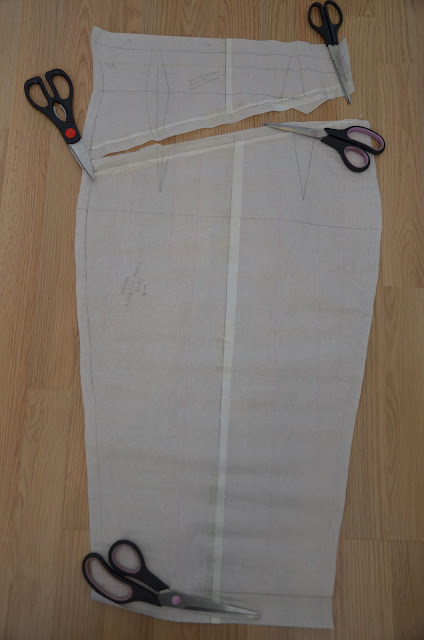
Finished Skirt Front Pieces
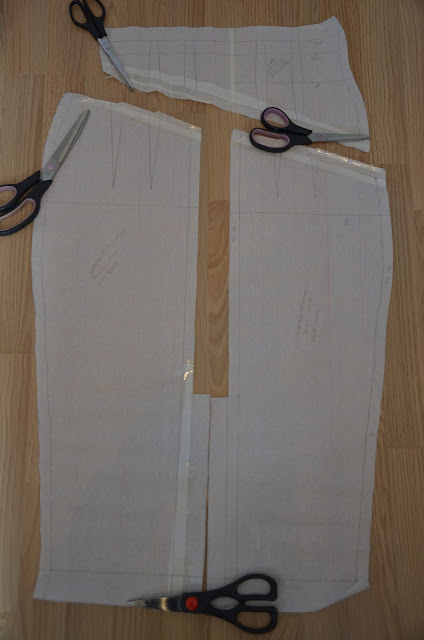
Then the main thing was sorting out the asymmetric detail. I decided on 2" on the left side going down to 6 1/2" on the right, which was roughly just below my hip. I drew a straight line from one point to the other on the front and back patterns, and this became the seamline. I cut along this line on the front and back, and unstuck the left and right back pieces from each other to create 5 pieces: front waistband, back waistband, front, left back, and right back.
Finished skirt back pieces
Then I added 5/8 seam allowance around, with 1" at the top of the waistbands and 1 5/8" at the bottom hems.
Also, as you can maybe see from the pictures, I drew a fair few pink lines parallel to the grainline. This was just to give me more reference points, to make pattern matching the quilted fabric easier. And I did need all the help I could get with this, as the pattern matching was by far the most complex part of the process. Somehow I managed it ok, I'd say, though the darts on the waistband and main skirt didn't match up for some reason...
Anyway, here are my pieces cut out...
And then here's the skirt back held together with binder clips (I don't have the fancy sewing version so I just used office stationary...)
Aaaaaand that's all the photos I took of the sewing process. But in terms of sewing, it's not really any different to a straight-forward pencil skirt. I lined it in some nice blue satin, added in a snazzy gold zipper, hemmed it, and boom! Fancy new skirt done.
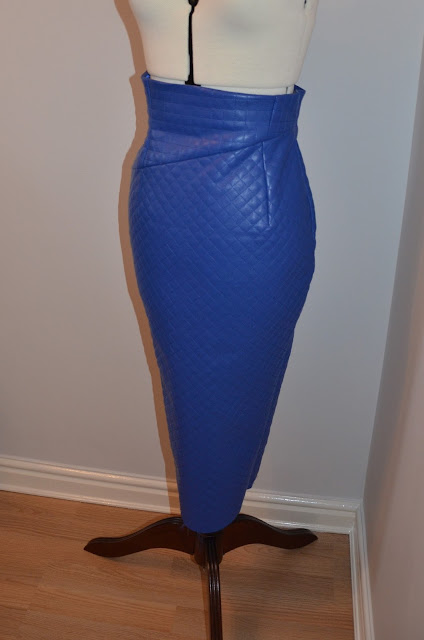
Here's some sexy mannequin shots.
Pics of me in it to follow at some point!


Comments
Post a Comment