Bishop Sleeve Blouse
This post may contain affiliate links – this means I may receive a commission if you decide to make a purchase through links on this post, at no additional cost to you. Affiliate links will be marked with an asterisk (*).
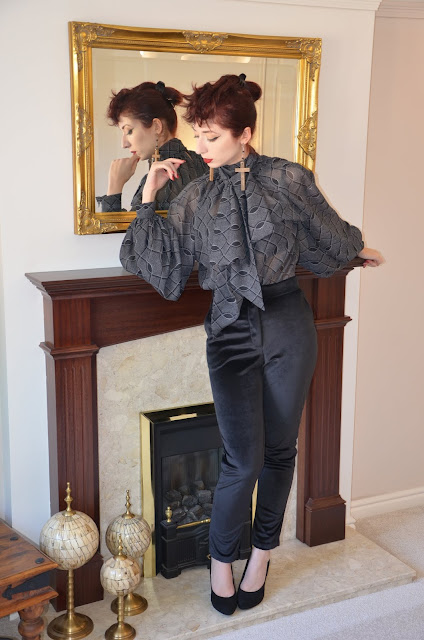
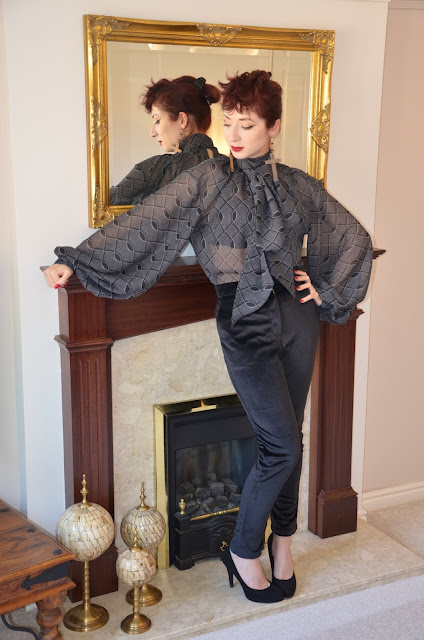
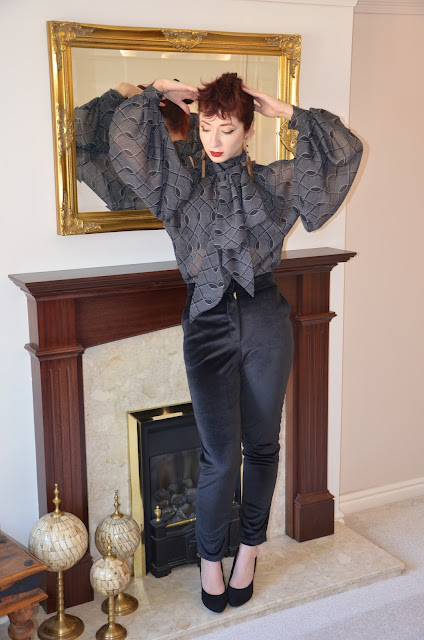
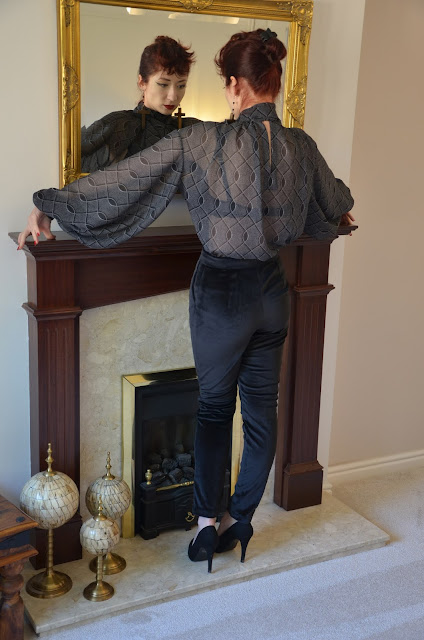
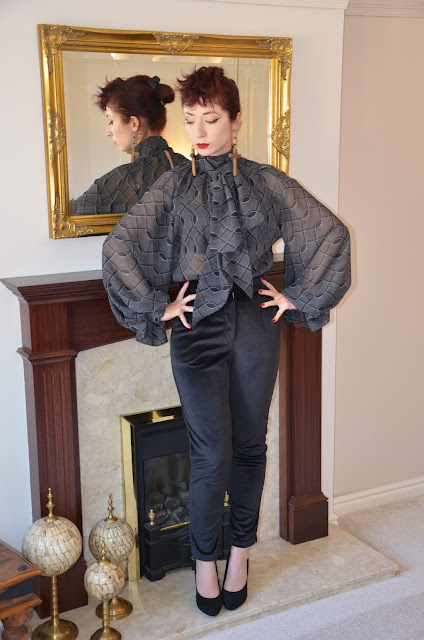
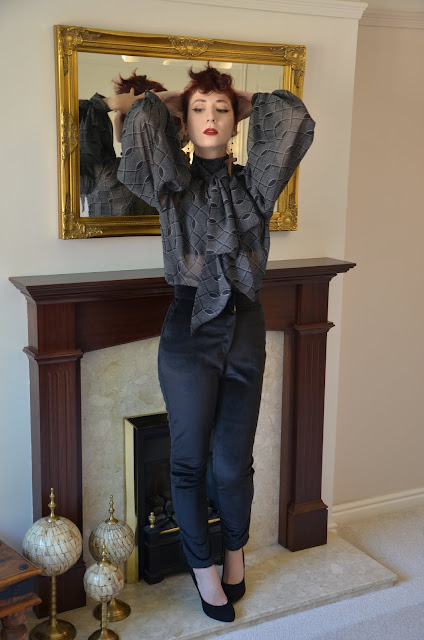
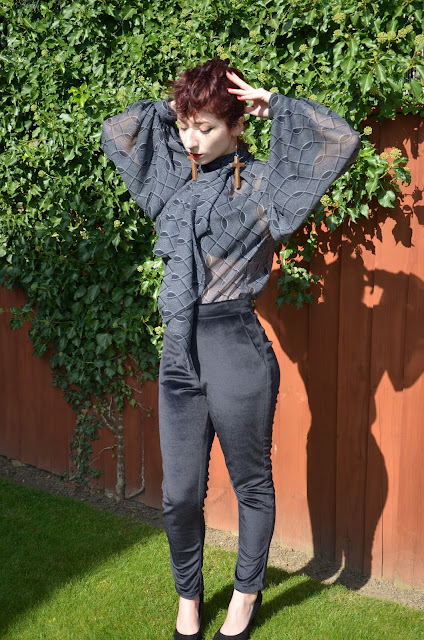
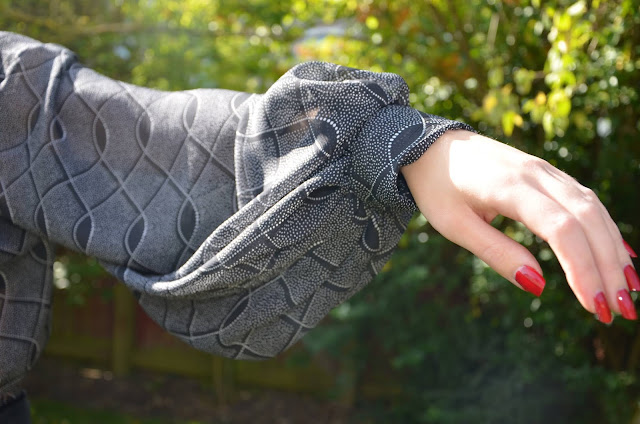
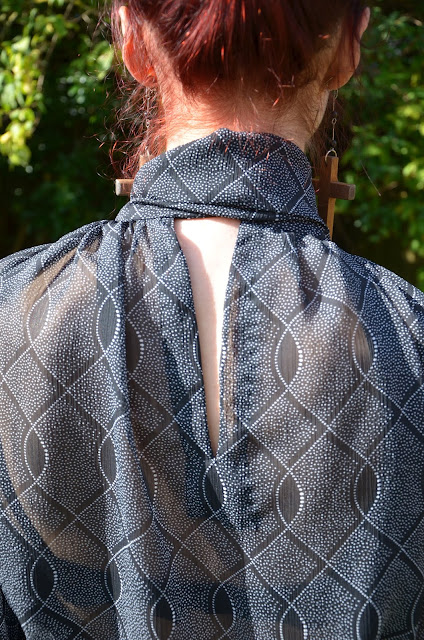
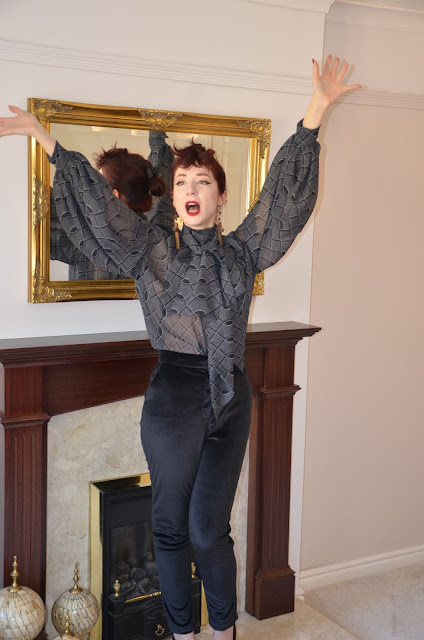
This project was basically a conglomeration of various different design elements I like in clothes: big sleeves, gathers, tie neck, and black! Most of the stuff I make and wear these days seems to be brightly coloured and patterned, but truth be told, I am a goth at heart, and will always be most partial to the dark side. This chiffon from Tia Kinght (provided free in exchange for an Instagram post) was perfect, having just enough pattern to stand out without being overwhelmingly print-tastic. I really enjoy adding volume to chiffon as it creates an interesting difference in tone, between the ultra sheer areas with just one layer of fabric, and the near-opaque areas with intense gathering.
Despite being a great lover of all things statement sleeves, I'd somehow managed to go all this time without ever making a bishop sleeve, and this was the project to change that. As seems to be the case quite a lot of the time, I didn't bother with a commercial pattern and just self-drafted my own instead. There are quite a few bishop sleeve tutorials out there that will explain the process way better than I ever could, so in a nutshell, you slash and spread your sleeve pattern until it kind of looks like a bell. The wider your pattern ends up, the more volume your sleeve will have. I didn't go for anything precise here, I just eyeballed what looked right to me.
I've now gotten into drafting patterns on the computer rather than on newspaper, baking paper, and scraps of brown paper my packages get wrapped in, which means they're significantly less unslightly to show on here, so this is what my bishop sleeve pattern looked like:
For the front and back pieces, I wanted there to be a lot of volume around the neckline, so I also slashed and spread my basic blouse pattern to incorporate some gathering. This all ended up being hidden by the neck tie, but whatever, I know it's there.
The neck tie is literally just a long rectangle - I cut mine to be super long, as I liked the idea of it wrapping around my neck a few times, so I actually cut mine to be two widths of fabric long, with the seam joining the two pieces together being my centre back point. I love how this turned out, though it was a real pain to sew. The amount of fabric at the neck really weighed the rest of the garment down when trying to sew it up, and chiffon will take absolutely any excuse to shift around, so this did make things more fiddly than if I'd gone for a normal length. I made it roughly 30cm/12" wide when cutting (just because that's an easy measurement to do with a 12" ruler) - this is then folded over, so it ended up about 5" wide once you take seam allowances into consideration.
Construction wasn't that exciting or complicated, I just seamed everything together with French seams to avoid fraying, and that was about it. If you'd like me to explain anything in any actual detail, just ask away and I'll do my best!
And for those of you interested in making something similar, who aren't so keen on the concept of pattern drafting (understandable) or attempting to follow my instructions (even more understandable), some similar-ish patterns I've found include Vogue 9285*, Simplicity 8736*, and McCall's 7868* - the last one is a pattern I own and have made - if you check out my blog post for that, you'll see how this one compares.





Comments
Post a Comment