Time Traveller's Blazer - Simplicity 1248 Jacket
 |
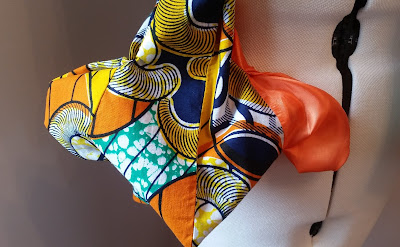
| African wax print skirt |
I’d been wanting to make something out of African wax
print for a while, and since it lends itself to more structural pieces, I
decided to try and make a blazer. I’ve always thought African wax print jackets
look pretty damn cool, so I was quite excited to finally make my own! (There
are some examples on my Ankara Jackets Pinterest Board if you’re interested)
This was actually my first ever attempt at making a blazer
(and the only other type of tailoring I’d ever tried was a now-probably-out-of-print Vogue Patterns V1211 coat several years ago that I gave up on half way through
and have never looked at again) but despite this, I couldn’t be bothered with a toile – I
probably would have if I’d bought the fabric specially, but since it was just
left over stuff, I figured I’d risk it.
 |
| Abandoned Vogue V1211 coat sewing pattern |
The pattern I used was Simplicity 1248 – the
corset of which had been used as a base for my Cocktailed Dress.
I really
love the design of the jacket, and I had originally thought I’d use it to make
an epic steampunk jacket (maybe I still will) but I figured it would also work
really well with my wax print.
The pattern was pretty straightforward to follow, and I had
my outer shell sewn up relatively quickly. When I tried it on however, there
was a reasonably big issue in terms of fit. As this jacket was meant to go over
their corset, it was clearly designed for a corseted shape, meaning the bust
was several inches higher up on the jacket than mine are actually located. And
since I wasn’t intending to wear this jacket over a corset, this kind of needed
to be changed if I didn’t want to have weird lumps above my boobs. (Apologies –
I forgot to take photos of this, so you’ll just have to imagine it.)
It took a fair bit of pinning and reworking to finally get
it into a shape that fitted over my natural bust height, and there was still
definitely room for improvement, but there was only so long I wanted to spend
accidentally stabbing myself with pins, so I decided to move on.
The only other problem I encountered, which was again
because I wasn’t pairing it with the corset, was that it only reached partway
across the bust.
Looking at the pattern photo, this is clearly because
it’s meant to be buttoned onto the corset, but it looked a bit odd as a
freestanding jacket, which you’d expect to at least be able to go over the
bust, if not button up. I made the seam allowances as narrow as possible on the
front of the jacket, to try and make the front panels that bit wider, but it
still stopped in a slightly awkward position. If I were to make this jacket
again, I’d probably add on another inch or so to the front panel before
cutting.
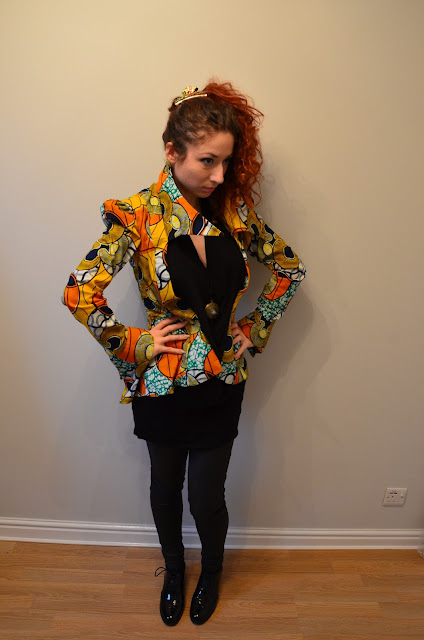
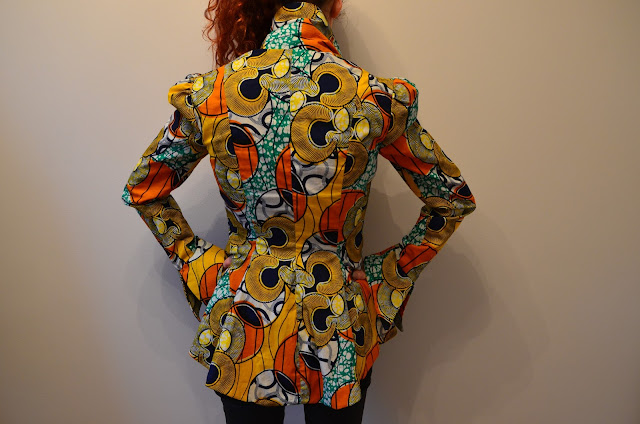
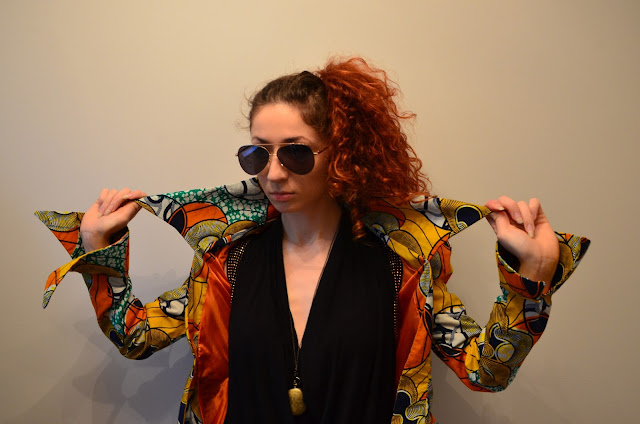
And now the moment you’ve all been waiting for…here is the
finished jacket!!
Overall, I’m pretty pleased with this jacket. In spite of
the bust issue, it ended up fitting very well and being quite flattering, which
is always good. I really love the exaggerated collar, cuffs and shoulders, and
I like how the brightly coloured fabric transformed this Victorian-style
pattern into what looks more like an over the top 80’s blazer. It’s not often
that I feel completely happy with my sewing creations, but this was one of
those times!


Comments
Post a Comment